Last updated on March 4, 2026, by Lucy
I often see gears fail too early. I see shafts wear out fast. Many teams blame the design. In many cases, the real issue is improper hardening.
Hardening in machining is a controlled heat treatment process that changes a metal’s microstructure to increase hardness, wear resistance, and fatigue life. It makes parts tougher by transforming internal structure, not by simply heating metal, and it must match real load and machining strategy.

When I work with engineers like David, I do not treat hardening as a final checkbox. I treat it as part of the whole machining plan. If the hardness level is wrong, tolerances drift. If the sequence is wrong, parts warp. So I always begin with load data, service conditions, and tolerance targets before I talk about heat treatment.
What Is Hardening in Machining and Why Does It Matter for Load-Bearing Parts?
I often meet buyers who think hardening simply means making steel stronger. That idea creates risk. Hardening is not random heating. It is controlled microstructural engineering.
Hardening changes the steel’s internal structure, often forming martensite during quenching. This transformation increases hardness and wear resistance while changing toughness and internal stress balance.
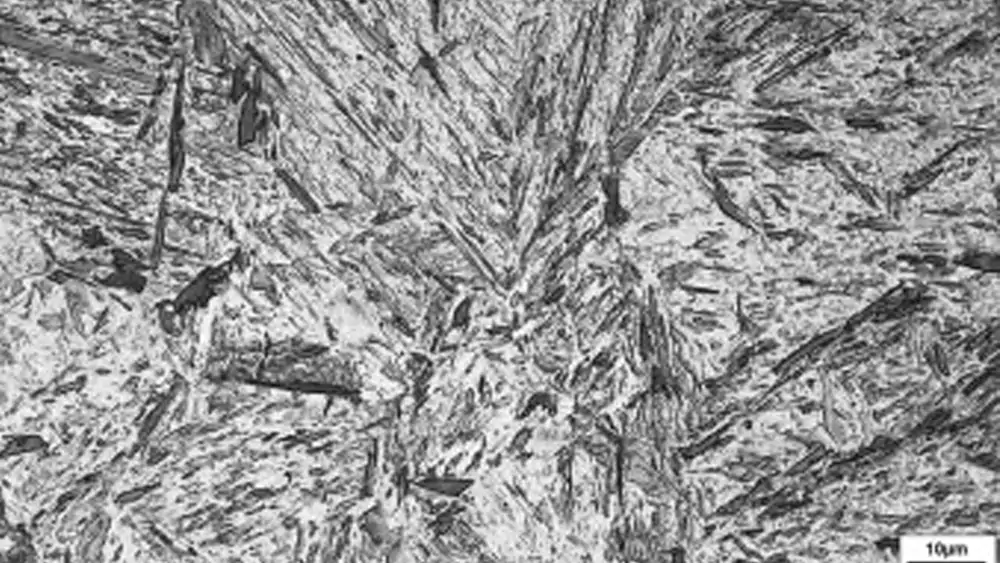
Microstructure Transformation and Martensite
When I heat medium-carbon steel such as 4140 above its critical temperature and then quench it, the crystal structure shifts. Austenite transforms into martensite. Martensite1 is hard. It is also brittle if not tempered.
I always balance hardness and toughness. If I push hardness too high, such as above 62 HRC for certain gears, crack risk rises. If I stay too soft, wear and surface pitting increase.
Surface vs Core Property Strategy
Many non-standard custom industrial parts require different performance characteristics at varying depths.
- The surface must resist wear.
- The core must absorb shock.
I design hardening around this difference. Gears, shafts, cams, and tooling all depend on this balance. Hardening increases fatigue life and contact strength. It reduces adhesive wear. But it must match real stress conditions. It is controlled metallurgy, not guesswork.
Major Hardening Methods Used in CNC Machined Components?
I choose the hardening method based on material grade, geometry, tolerance needs, and batch size. I never choose based on hardness number alone. Each method creates different distortion risk and cost impact.
Different hardening methods such as through hardening, case hardening, and induction hardening create different hardness profiles, distortion behavior, and production costs. The correct method depends on material grade, part geometry, and tolerance requirements.
Through Hardening (Quench and Temper)
Through hardening creates uniform hardness across the section.
Common materials:
- 4140
- 1045
- 4340
Typical hardness range:
- 45–60 HRC
Distortion risk:
- Medium to high
Cost level:
- Moderate
This method works well for customizing solid shafts and tools. However, thin-wall parts may warp due to uneven cooling.
Case Hardening2 (Carburizing, Nitriding, Carbonitriding)
Case hardening creates a hard surface and tough core.
Typical case depth:
- 0.6–1.2 mm (carburized)
- 0.2–0.5 mm (nitrided)
Typical surface hardness:
- 58–62 HRC
Common materials:
- 8620
- 20MnCr5
Distortion risk:
- Lower than full through hardening
Cost level:
- Higher for carburizing
- Moderate for nitriding
I prefer case hardening for gears. It improves wear life while maintaining shock resistance.
Induction and Surface Hardening
Induction hardening3 heats only selected areas.
Benefits:
- Local treatment
- Reduced distortion
- Faster cycle
This method suits medium to large shafts and gear teeth. It supports batch production with controlled lead time.
Machining Before or After Hardening? Sequence Strategy, Distortion & Tolerance Control?
Many tolerance problems begin here. Hardening changes dimensions. It introduces residual stress. It affects machining stability.
The machining sequence relative to hardening determines dimensional accuracy, distortion level, and final surface integrity. Rough machining is usually done before hardening, while precision finishing or grinding is performed after heat treatment to restore tolerance.
Typical Sequence Strategy
- Rough machining in annealed state
- Stress relief
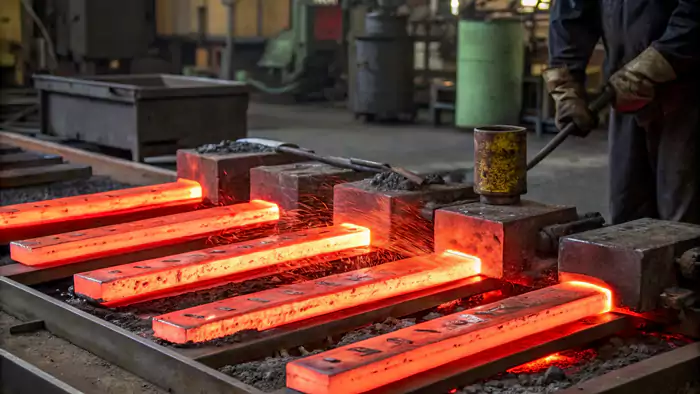
- Hardening
- Finish machining or grinding
Heat treatment growth4 can range from 0.02 mm to 0.08 mm depending on material and geometry. I always plan compensation in advance.
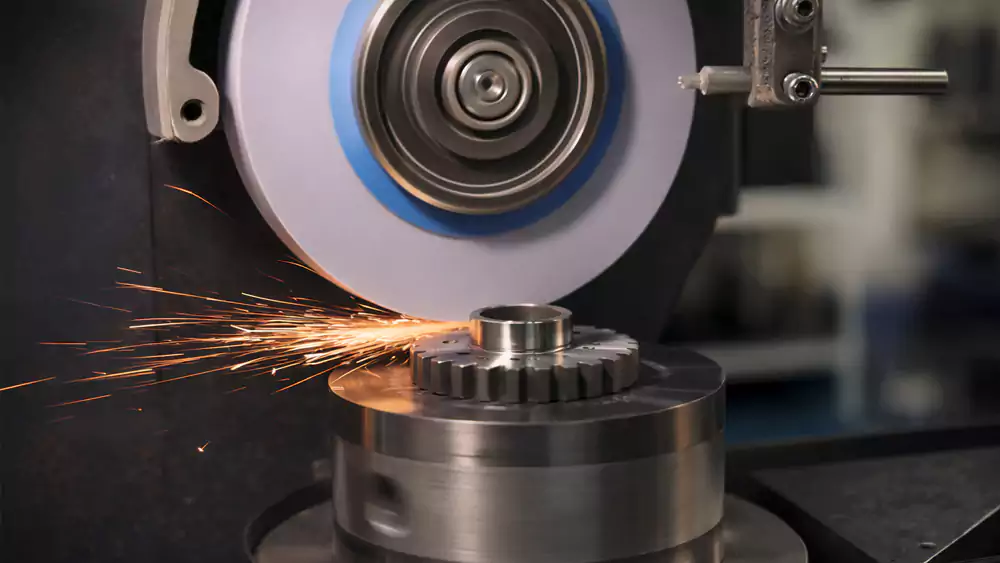
Grinding vs Hard Milling
Grinding provides high precision after hardening. However, grinding increases cost and lead time.
Hard milling with coated carbide or CBN tools works for 45–55 HRC parts. Tool wear rises sharply above that.
Distortion Control in Thin-Wall Parts5
Thin housings and long shafts carry higher risk.
I use:
- Symmetrical machining
- Controlled fixturing
- Pre-hardening stress relief
- Predictable dimensional compensation
In batch production, repeatability matters more than extreme hardness. If every part moves in the same direction by 0.03 mm, I can correct it. If movement is random, scrap rate rises.
Hardening vs Quenching vs Annealing: Process Differences That Affect Performance?
Many teams confuse these terms. This confusion leads to wrong specifications and cracked parts.
Hardening is the overall process that increases hardness, quenching is the rapid cooling step that enables martensite formation, and annealing is a softening process used to reduce stress and improve machinability. Each process changes hardness and residual stress differently.

| Process | Purpose | Hardness Change | Residual Stress | Typical Use |
|---|---|---|---|---|
| Hardening | Increase strength & wear | High increase | High | Gears, shafts |
| Quenching | Rapid cooling step | Enables hardening | High | Step inside hardening |
| Annealing | Soften & relieve stress | Decrease | Low | Pre-machining |
Quenching alone does not guarantee performance. Tempering6 must follow to balance brittleness. Annealing improves machinability before precision cutting.
Incorrect process choice can cause cracking, distortion, or premature failure. Process control7 determines final mechanical behavior.
Cost, Tool Wear & Lifecycle ROI: Is Hardening Always Worth It?
Hardening adds cost. It increases tool wear. It extends lead time. So I always evaluate real return.
Hardening increases manufacturing cost due to extra processing and tool wear, but it can dramatically extend service life and reduce downtime when applied correctly. The key is matching hardness level to real load conditions.

Manufacturing Impact
- Increased tool wear after heat treatment
- Possible need for grinding
- Extra inspection steps
- Added furnace cycle time
Case Study: Industrial Gear Upgrade
A client used 1045 steel gears at 28 HRC.
Operating data:
| Parameter | Before | After (Carburized 8620) |
|---|---|---|
| Surface Hardness | 28 HRC | 60 HRC |
| Core Hardness | 28 HRC | 35 HRC |
| Load | 2.8 kN | 2.8 kN |
| Speed | 1,450 rpm | 1,450 rpm |
| Gear Module | 3.5 | 3.5 |
| Service Life | 9 months | 32 months |
Distortion was controlled at 0.04 mm max after heat treatment. Grinding restored final tolerance to ±0.01 mm.
Downtime dropped by more than half. Maintenance cost fell sharply. Tool wear increased during finishing. However, lifecycle return justified the process.
Avoiding Over-Specification
I ask simple questions:
- Does the load justify 58–62 HRC?
- Is case hardening enough instead of full through hardening?
- Can mid-carbon steel meet the requirement?
Hardening is not about reaching the highest hardness number. It is about choosing the right hardness for the job and integrating it into the full machining process.
Conclusion
Hardening works when it matches load, tolerance, and machining strategy. Smart sequence planning turns controlled hardness into long-term durability.

-
Explore this link to understand why Martensite is crucial for hardness and how it affects steel performance in industrial applications. ↩
-
Explore this link to understand how Case Hardening improves gear wear life and shock resistance, essential for durable gear production. ↩
-
Learn why Induction hardening is ideal for local treatment with reduced distortion and faster cycles, perfect for medium to large shafts and gear teeth. ↩
-
Explore this link to understand how heat treatment growth affects machining precision and how to plan compensation effectively. ↩
-
Learn proven strategies for minimizing distortion in thin-wall parts to improve repeatability and reduce scrap rates in production. ↩
-
Explore this link to understand how tempering balances brittleness after quenching, ensuring optimal metal performance and durability. ↩
-
Learn why precise process control is crucial to avoid defects like cracking and distortion, ensuring reliable mechanical properties. ↩
