Last Updated: 2025-10-21 11:33:13 Tuesday
After processing over 5,000 acrylic components at Allied Metal, I've learned that what seems like a simple cutting task often separates amateur results from professional quality. Don't let cracks, chips, or rough edges compromise your project—master the right techniques for clean, precise cuts every time.
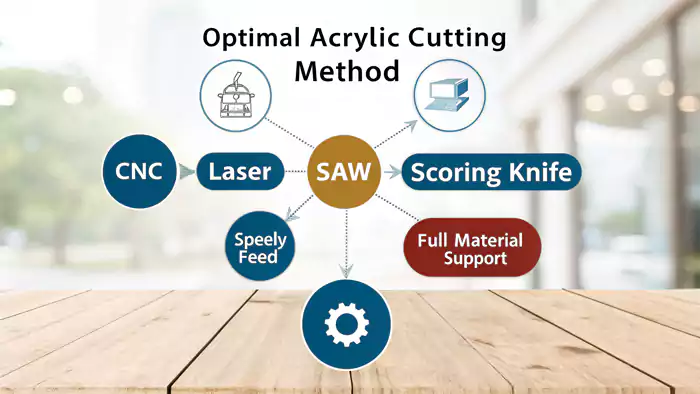
The best ways to cut acrylic sheets cleanly and precisely are using a CNC router or a laser cutter. These methods minimize cracking and are ideal for complex shapes. Simpler tools like scoring knives or saws can work for basic cuts on thinner sheets.
Choosing the right cutting method is crucial for your project. Whether you need intricate designs, perfectly polished edges, or just a simple straight cut, the tool and technique matter. Let's explore the options to help you get the best results every time.
CNC Cutting Acrylic
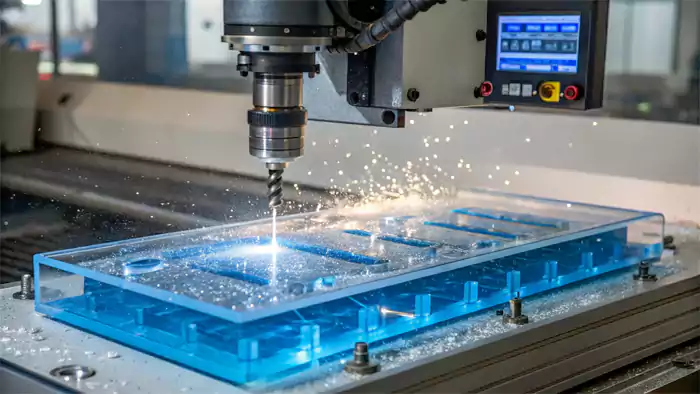
Need complex, accurate cuts on acrylic sheets? Hand tools just can't provide the needed precision. CNC routers offer computer-controlled accuracy for even the most intricate designs.
CNC routers use rotating bits guided by computer programs to cut acrylic precisely. This method is excellent for cutting complex shapes, handling thick sheets, and achieving smooth edges with high accuracy.
Manufacturing Case Study:
Last year, we custom-manufactured 500 acrylic display stands for a retail client. Through our tailored CNC machining solution, we achieved exceptional consistency across the entire batch:
| Parameter | Specification | Result |
|---|---|---|
| Material | 12mm Cast Acrylic | Perfect edge quality |
| Tool | 1/4" Single Flute Bit | No chipping or melting |
| Feed Rate | 120 inches/min | Optimal chip removal |
| Spindle Speed | 18,000 RPM | Clean cuts, no heat buildup |
| Tolerance | ±0.15mm | Better than required ±0.25mm |
| Scrap Rate | 1.2% | Industry average: 5-8% |
When I need clean, repeatable cuts—especially on thick acrylic or parts with complex shapes—I rely on CNC routing1. The machine follows a precise digital path, so every cut is consistent.
Getting good results comes down to a few key factors:
- Use the right bit2: Single or O-flute bits designed for plastics work best. They clear chips efficiently and help prevent heat buildup.
- Set the right speeds: Go too slow, and the acrylic can melt. Go too fast, and you might get chips or rough edges.
- Clamp securely: This prevents vibration, which can ruin cut quality.
- Keep it clean: A dust extractor3 helps you see clearly and keeps your workspace tidy.
Overall, CNC routing is a reliable choice for both prototypes and production—especially when precision really matters.
| Feature | Detail | Benefit |
|---|---|---|
| Tool | CNC Router | High Precision, Repeatability |
| Bit Type | Single Flute, O-Flute (Up-cut/Down-cut) | Clean Chip Evacuation, Less Heat |
| Settings | Optimized Feed Rate & Spindle Speed | Prevents Melting/Chipping |
| Clamping | Secure Fixturing | Reduces Vibration, Improves Cut |
| Best For | Complex Shapes, Thick Sheets, Production | Accuracy, Smooth Edges |
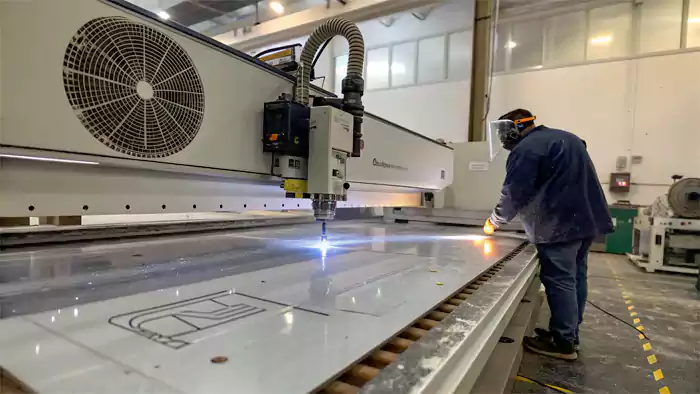
Laser Cutting Acrylic
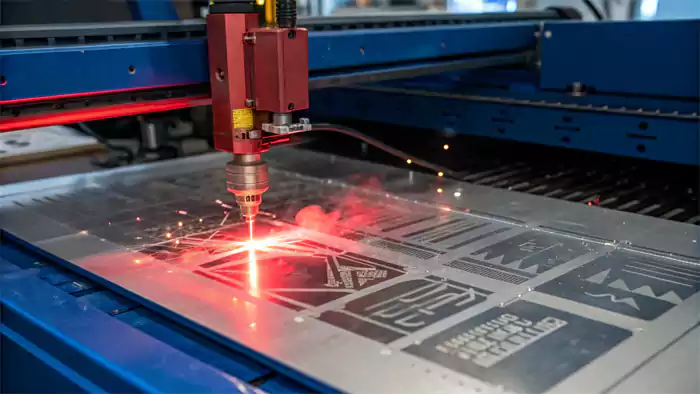
Want perfectly clean, almost flame-polished edges on your acrylic parts? Mechanical cutting often leaves tool marks. Laser cutters vaporize the material, providing an unmatched finish.
Laser cutting uses a focused light beam to melt or vaporize acrylic. It excels at intricate details and leaves a smooth, often polished edge, particularly well-suited for cast acrylic sheets.
Production Insight:
In our custom services for architectural signage, we frequently laser-cut intricate logos from 6mm cast acrylic. Our optimized parameters deliver consistently polished edges:
| Setting | 3mm Acrylic | 6mm Acrylic | 10mm Acrylic |
|---|---|---|---|
| Power | 45% | 65% | 85% |
| Speed | 18 mm/s | 12 mm/s | 8 mm/s |
| Air Pressure | 0.6 bar | 0.8 bar | 1.0 bar |
| Edge Quality | Glass-smooth | Polished finish | Slight convexity |
For detailed work and that smooth, glossy edge, laser cutting is my go-to. CO2 lasers are commonly used for acrylic and offer a non-contact process, so there's no physical stress on the material—great for avoiding cracks.
Laser cutting really shines when it comes to fine details or complex patterns that other methods can't handle. Cast acrylic usually gives better results with a flame-polished edge, while extruded acrylic may have a slightly rougher finish.
To get the best cut, it's important to dial in the right:
- Power
- Speed
- Focus
These settings vary depending on the thickness of the acrylic.
Air assist4 helps clear molten material and prevents flare-ups for a cleaner cut.
Ventilation is a must—cutting acrylic releases fumes, so proper extraction is essential for safety.
| Feature | Detail | Benefit |
|---|---|---|
| Tool | CO2 Laser Cutter | High Detail, Polished Edge (Cast) |
| Process | Non-Contact Vaporization/Melting | No Mechanical Stress, Intricate Cuts |
| Material | Cast Acrylic (Best Edge), Extruded | Smooth, Glossy Finish Possible |
| Settings | Power, Speed, Focus, Air Assist | Controls Cut Quality & Edge Finish |
| Ventilation | Fume Extraction Required | Safety and Environmental Control |
What are other ways to cut acrylic?
Don't have access to a CNC machine or a laser cutter? You might still need to cut acrylic. Simpler, more common tools can get the job done for basic cuts.
Besides CNC and laser, you can cut thin acrylic (typically under 1/4 inch or 6mm) using scoring knives, jigsaws, circular saws, or band saws. These require careful technique to minimize chipping.
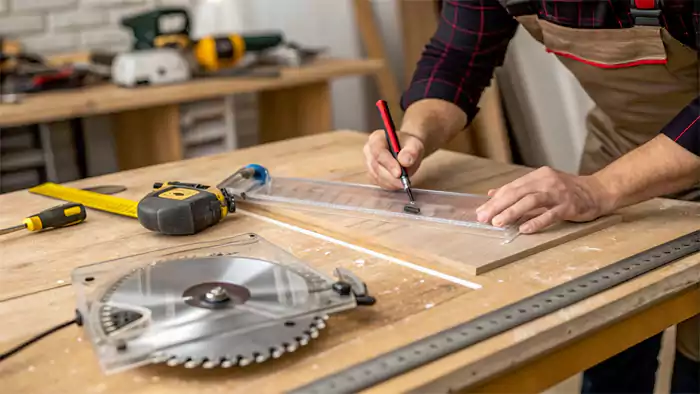
Cutting Acrylic Sheets: Simple Methods
Shop Floor Wisdom:
For quick prototypes or one-off machined plastic parts, I often use manual methods. The key is patience and the right blade. A 80-tooth carbide-tipped blade in a table saw, running at reduced speed with steady feed pressure, can produce surprisingly clean edges on sheets up to 12mm thick.
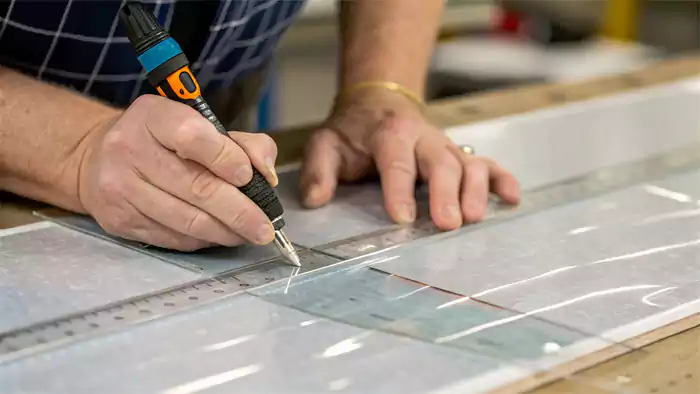
Thin Sheets (under 1/4 inch):
The easiest way is score and snap. Use a scoring knife to cut a deep groove—about halfway through the sheet. Place the sheet score-side up on a hard edge and press down sharply to snap it cleanly.
Thicker Sheets or Curved Cuts:
You can use power tools like a jigsaw, circular saw, or band saw.
Key considerations for these tools:
- Choose a fine-tooth or plastic-cutting blade (carbide-tipped works best).
- Feed slowly and steadily.
- Support the sheet well to reduce vibration and chipping.
- Avoid heat buildup, which can melt the plastic—adjust speed as needed.
These methods may leave rough edges, so sanding or polishing is often required for a smooth finish.
| Method | Suitable Thickness | Edge Quality | Notes |
|---|---|---|---|
| Score & Snap | Thin (<1/4") | Clean Break | Requires deep score, straight lines only |
| Jigsaw | Thin to Moderate | Fair to Rough | Good for curves, use plastic blade, slow feed |
| Circular Saw | Thin to Moderate | Fair to Rough | Straight lines, use plastic blade, support well |
| Band Saw | Thin to Thick | Fair to Rough | Good for curves/straight, plastic blade needed |
What is the best tool to cut acrylic sheets?
With several tools available, how do you pick the best one? Making the wrong choice can lead to wasted material and frustration. The "best" tool really depends on your project needs.
There isn't a single "best" tool for every acrylic cutting job. CNC routers excel with complex shapes and thick sheets. Lasers are best for intricate details and polished edges. Simpler tools work for basic cuts.
Choosing the right tool comes down to evaluating your specific requirements. I always consider these factors:
For Precision and Complexity
If the design involves intricate patterns, tight tolerances, or cutting thick material (over 1/4 inch), a CNC router is usually the most reliable choice. It delivers consistent accuracy and smooth, though not polished, edges.
For Polished Edges and Intricate Details
When the final edge appearance is critical, especially needing that clear, polished look, or if the design has extremely fine details, a laser cutter is superior, particularly with cast acrylic.
For Simple, Straight Cuts (Thin Material)
For basic straight cuts on thin acrylic sheets (under 1/4 inch), the score and snap method using a scoring knife is often sufficient, fast, and requires minimal equipment.
For Budget Constraints or Basic Curves
If access to CNC or laser isn't feasible, or for simple curves on thinner sheets, a jigsaw or band saw with the correct blade can work, but expect to do some edge finishing afterward. A circular saw works for straight cuts but also needs the right blade and technique.
What is the best method for cutting acrylic sheets?
Knowing the tools is one thing, but what's the best actual method or technique? Using a great tool poorly still leads to bad results. The cutting method matters just as much.
The best method combines selecting the appropriate tool (CNC, laser, saw, scoring knife) for the job and applying correct techniques like proper speeds, feeds, blade types, full material support, and safety precautions.
Choosing the Best Cutting Method: It's All About the Process
The best method isn't just about the tool—it's how you use it, especially when aiming for precision with techniques like CNC machining. Success hinges on understanding the nuances of each approach.
Expert Tip: In our CNC machining solutions for acrylic, we've developed a systematic approach:
- Material Analysis: Determine if it's cast (better for polishing) or extruded (more economical)
- Toolpath Optimization: Use climb milling for cleaner edges
- Cooling Strategy: Air blast prevents chip re-welding
- Fixturing: Double-sided tape plus mechanical clamping prevents vibration
Automated Tools (CNC Machining with Routers, Laser Cutting):
For successful automated cutting, whether using routers or laser cutters, proper setup is key:
- Use the right cutting bit5 (e.g., an O-flute or V-flute bit for acrylic) for routing or the correct focal lens for laser cutting.
- Set proper feed rates and spindle speeds for your routing process, or the appropriate laser power and speed settings for the acrylic's thickness.
- Secure the material firmly on the machine bed or laser cutting surface to prevent shifting or vibration, which can ruin a cut and potentially damage the tool or material.
Manual Tools (saws, scoring knives):
With manual methods, technique matters most:
- Clamp the material securely to a stable work surface.
- Use a sharp blade specifically designed for plastics to minimize chipping.
- Cut slowly and steadily—don't force the tool, let the blade do the work.
- For the score-and-snap method, make a deep, even score (about 1/4 to 1/2 through the material) before applying steady, even pressure to snap.
General Tip for All Methods:
Always support the acrylic sheet close to the cut line. This helps to avoid flexing or cracking, ensuring a cleaner cut whether you're using manual tools or advanced CNC machining for intricate designs. Proper support is fundamental for quality results.
How do you cut acrylic sheets without cracking them?
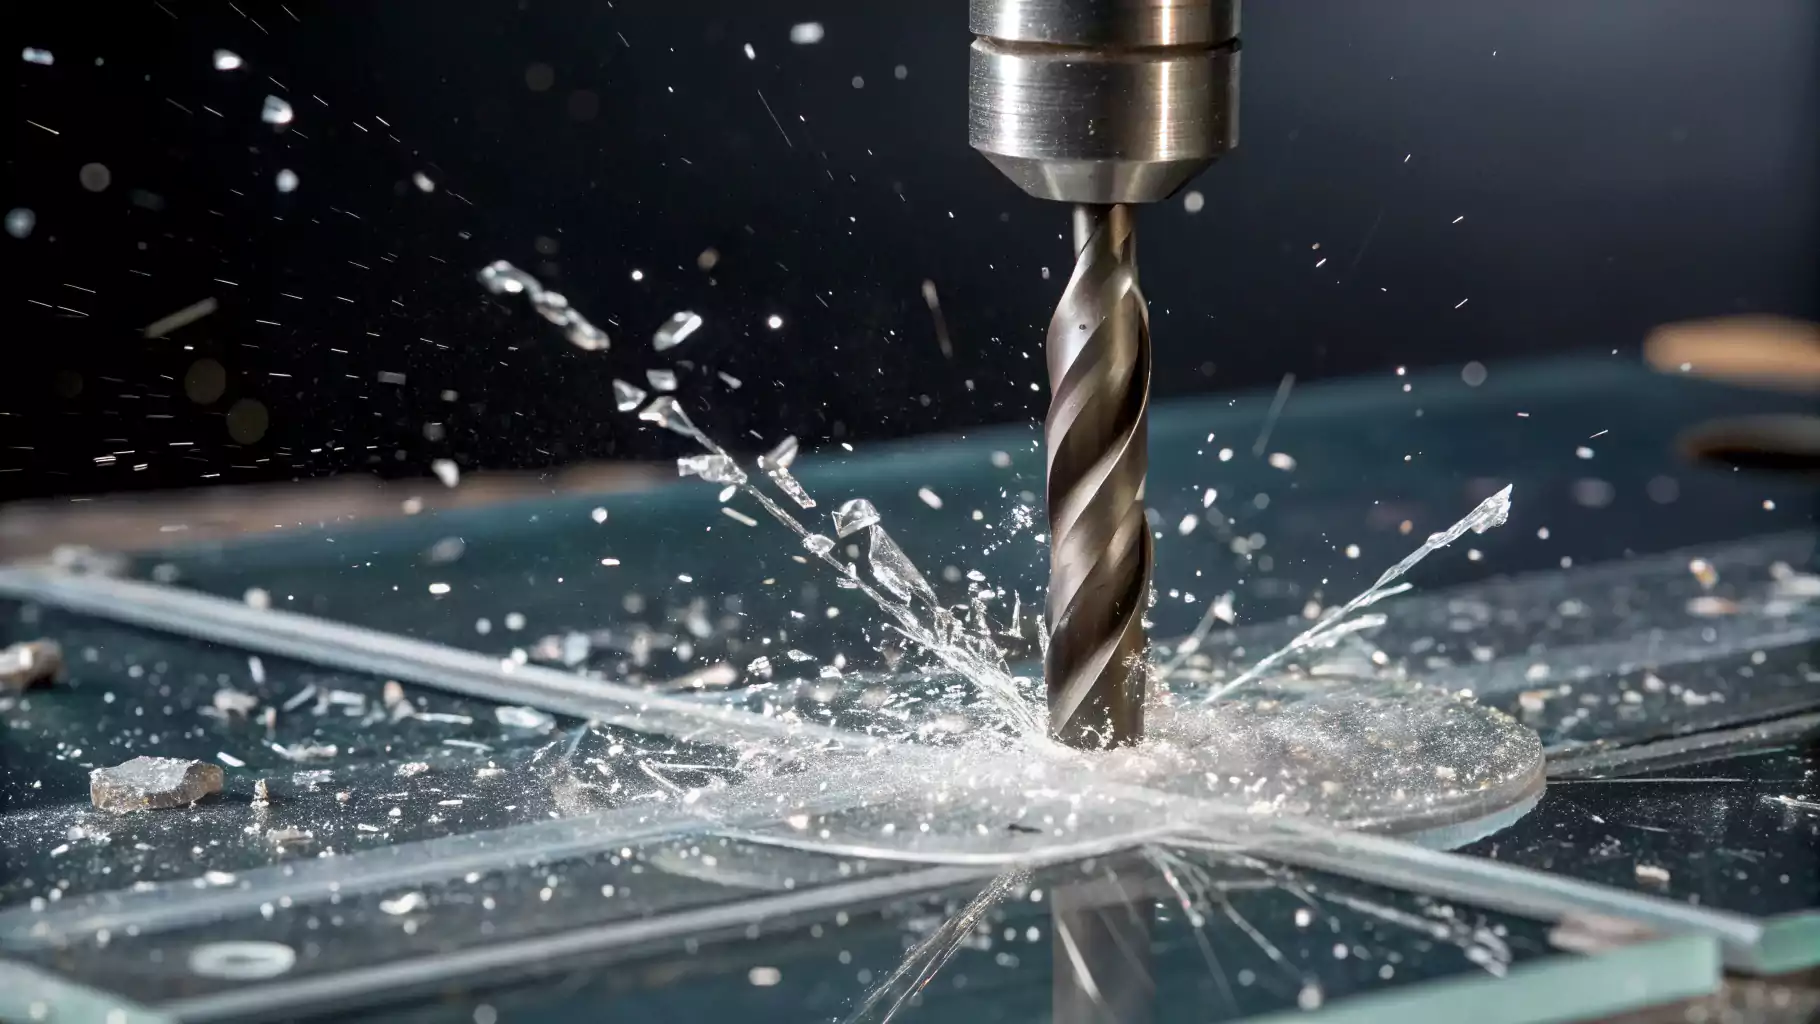
Ah, the dreaded crack! It's the most common frustration when cutting acrylic. Cracks ruin the appearance and structural integrity. Fortunately, specific techniques minimize stress and prevent cracking.
Prevent cracking by using sharp, correct blades/bits, choosing appropriate speeds/feeds, fully supporting the sheet near the cut, avoiding too much pressure, and minimizing heat. Scoring knives work well for thin sheets.
Troubleshooting Experience:
We recently helped a client who was experiencing 30% crack rates on their 8mm acrylic panels. The issue? Dull router bits and insufficient support. By implementing our 3-point support system and switching to fresh single-flute bits, we reduced their cracking to under 2%. This kind of problem-solving is what sets professional CNC machining solutions apart.
Acrylic is relatively brittle, so it cracks easily under stress or from heat buildup. Here's how I focus on preventing cracks:
Use the Right Tool and Bit/Blade
A sharp tool designed for plastic is essential. Dull tools or incorrect blade types generate excess heat and stress. For saws, fine-tooth blades are better. For routers, single or O-flute bits clear chips efficiently.
Control Speed and Feed Rate
Move the tool or workpiece slowly and steadily. Trying to cut too quickly increases stress and heat. Let the tool do the work without forcing it. With power tools, find the speed setting that cuts cleanly without melting.
Provide Full Support
Ensure the acrylic sheet is fully supported on a flat surface, especially right next to the cut line. This prevents the material from vibrating or flexing, which are major causes of cracking. Use clamps where possible, but don't overtighten.
Minimize Heat
Excess heat can cause stress and melting, leading to cracks. Use appropriate speeds/feeds, sharp tools, and consider air cooling or a water mist for power saws if melting occurs. Laser cutting inherently uses heat, but correct settings vaporize material quickly, minimizing surrounding stress.
Score and Snap Technique (Thin Sheets)
For thin acrylic, scoring deeply (about 50% through) creates a controlled weak point, allowing a clean break along the line with minimal stress elsewhere.
Safety Precautions When Cutting Acrylic Sheet?
Cutting any material involves risks, from sharp tools to flying debris. Ignoring safety can lead to injuries or health issues from fumes. Following basic safety rules is essential.
Always wear safety glasses to protect your eyes from flying chips. Use hearing protection with loud power tools. Ensure good ventilation, especially with laser cutting, to avoid inhaling harmful fumes. Keep hands clear.
Workshop Safety When Cutting Acrylic
Safety comes first—always.
Eye Protection:
- Acrylic chips can fly, so safety glasses or a face shield are a must.
Hearing Protection:
- Power tools like saws and routers are loud—ear protection is a smart choice.
Fume Control:
- Cutting acrylic, especially with lasers, can release harmful fumes. Use good ventilation or a fume extractor.
Secure Your Work:
- Clamp the sheet firmly to prevent shifting during cutting.
Hand Safety:
- Keep hands clear of blades and moving parts at all times.
Tool Maintenance:
- Sharp blades cut cleaner and are safer than dull ones.
Clean Workspace:
- A tidy area helps prevent trips and allows safe movement.
Taking these simple steps makes acrylic cutting much safer and more efficient.
Conclusion
Successfully cutting acrylic hinges on the right method for your needs—CNC or laser for precision, saws or scoring for simpler cuts—paired with careful technique and strict safety measures to prevent cracks. For businesses requiring professional machined plastic parts or seeking comprehensive CNC machining solutions, partnering with experienced providers ensures optimal results. Our custom services at Allied Metal leverage decades of experience to deliver acrylic components that meet the most demanding specifications while minimizing waste and maximizing efficiency.

Footnotes:
-
Explore this link to understand the fundamentals of CNC routing and its applications in precision cutting. ↩
-
Discover the optimal bits for CNC routing acrylic to achieve clean and efficient cuts. ↩
-
Learn how a dust extractor enhances visibility and cleanliness during CNC routing, leading to better results. ↩
-
Understanding air assist can enhance your laser cutting techniques and improve safety and quality. ↩
-
Discover the various types of cutting bits available and how they impact the quality of your CNC machining projects. ↩
